
Blog
Weeding Nail Art: Your Ultimate Guide
📑 Table of Contents
- ➤ Mastering the Weeding Nail Technique: A Beginner’s Blueprint
- ➤ Essential Tools for Flawless Weeding Nail Designs
- ➤ The Art of Precision: How to Weed Intricate Nail Stencils
- ➤ Troubleshooting Common Weeding Nail Mistakes and Solutions
- ➤ Creative Applications for Weeding Nail Decals and Stencils
- ➤ Gel Polish and Weeding Nail Art: The Perfect Pairing
- ➤ Advanced Weeding Nail Techniques for Professionals
- ➤ Caring for Your Weeding Nail Art Manicures
- ➤ DIY vs. Professional: When to Choose What for Weeding Nail Art
- ➤ The Future of Weeding Nail Art: Trends and Innovations
- ➤ Frequently Asked Questions
Prepare to transform your nail game forever! We’re diving deep into the mesmerizing world of ‘weeding nail’ art, a technique that elevates DIY manicures from amateur to absolutely astonishing. If you’ve ever struggled with intricate designs, sharp lines, or achieving that pristine, professional finish, then this comprehensive guide is your ultimate secret weapon. We’ll unveil the essential tools, proven strategies, and game-changing insights that will make ‘weeding nail’ designs your new favorite skill, ensuring every application is a masterpiece. Get ready to unlock flawless artistry and impress everyone with your stunning nail creations.
Mastering the Weeding Nail Technique: A Beginner’s Blueprint
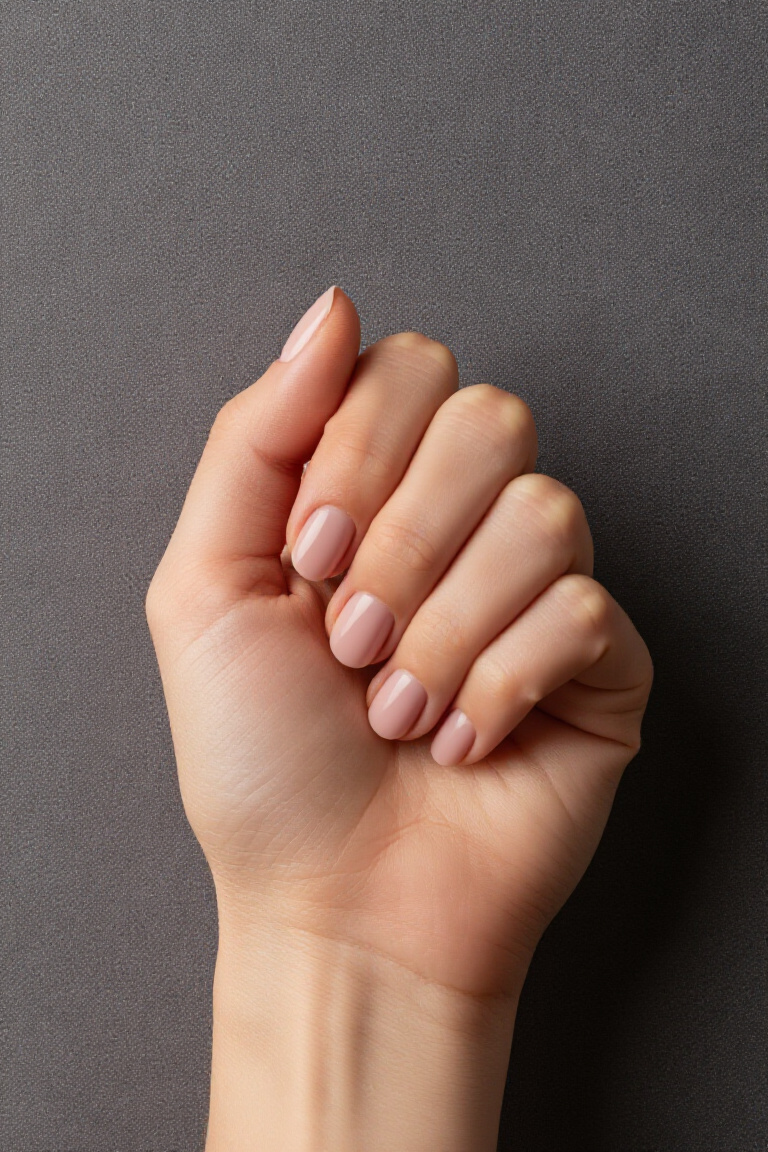
Embarking on the journey of ‘weeding nail’ art might seem daunting, but with the right approach, it’s incredibly rewarding. This technique focuses on meticulously removing excess material, typically vinyl or sticker backing, from a nail art stencil or decal to reveal a clean, precise design ready for application. Think of it as sculpting your design onto your nail. The foundational step is selecting the right tools. A fine-tipped tweezers and a sharp, pointed weeding tool are your absolute essentials. These allow for delicate maneuverability, crucial for isolating intricate patterns. When you’re learning ‘weeding nail’ art, start with simpler designs – think bold geometric shapes or straightforward floral outlines. Practice on scrap vinyl first to get a feel for the pressure needed and how to avoid tearing the material. Patience is your greatest ally here; rushing the process is the fastest route to frustration. Understanding the types of vinyl or sticker paper you’re working with is also key, as some are more delicate than others. Proper lighting is non-negotiable for effective ‘weeding nail’ work – you need to see every tiny detail.
Essential Tools for Flawless Weeding Nail Designs
To truly excel at ‘weeding nail’ artistry, equipping yourself with the right arsenal of tools is paramount. Beyond the basics of tweezers and a weeding tool, consider investing in specialized equipment that can elevate your precision. A magnifying lamp is a game-changer, illuminating the fine details of your design and preventing eye strain, which is crucial for extended ‘weeding nail’ sessions. Consider a set of precision weeding tools with various tip shapes – angled, curved, and ultra-fine points – each designed for different intricacies. A good quality cutting mat underneath your work area will protect your surfaces and provide a stable base. For those working with stencils, a light grip mat can hold your stencil securely in place, preventing any accidental slippage. Don’t underestimate the power of a comfortable grip; ergonomic tools reduce fatigue and improve control, making your ‘weeding nail’ process smoother. Remember, the cleaner your tools, the cleaner your results will be. Regular cleaning prevents residual adhesive or debris from interfering with your meticulous work.
The Art of Precision: How to Weed Intricate Nail Stencils
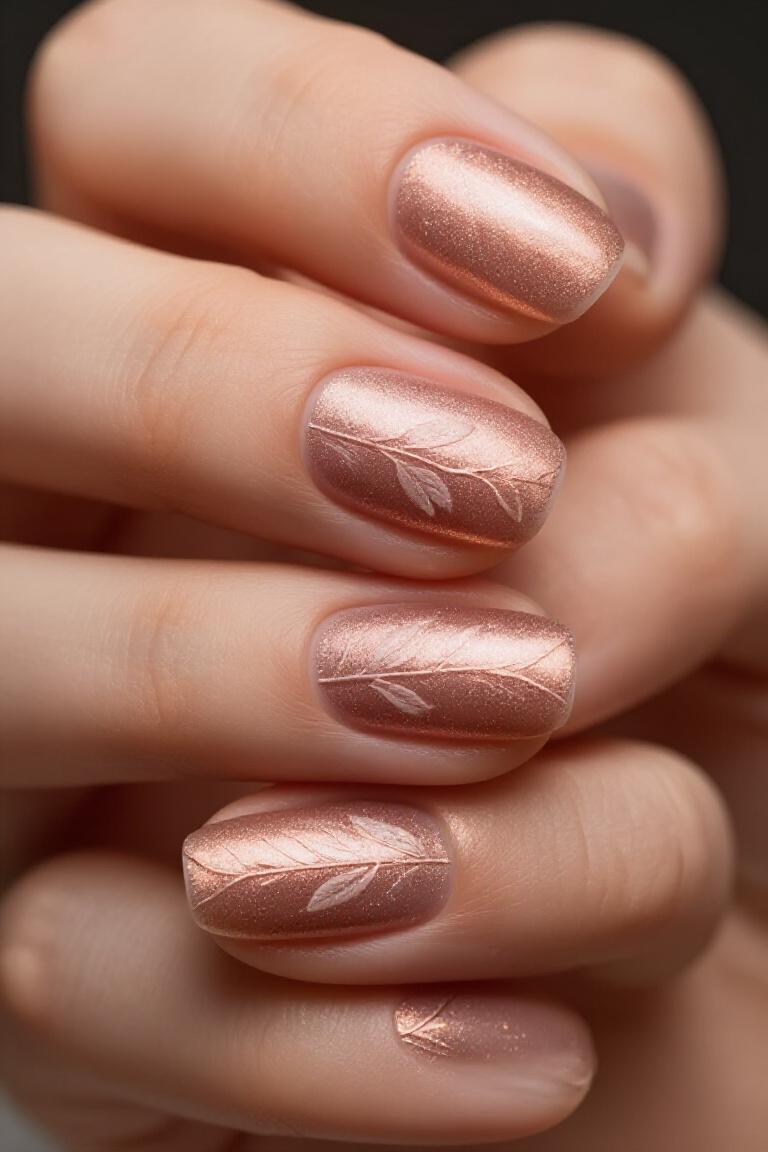
Weeding intricate nail stencils for ‘weeding nail’ art requires a surgeon’s steady hand and an artist’s eye. The key is to work methodically, starting from the largest excess pieces and gradually moving to the smallest, most delicate sections. When using your weeding tool, avoid pulling at an angle that could tear the design. Instead, gently lift and peel the excess material away from the design itself. For notoriously tricky areas, like tiny dots or thin lines within a pattern, consider using the tip of your tool to gently nudge the excess away rather than trying to grab it. Think about the negative space; you’re not just removing unwanted material, you’re defining the positive space of your design. If you’re working with a very detailed stencil, consider ‘pre-weeding’ any large internal cutouts before attempting the intricate outer edges. This can make the subsequent steps much more manageable. This level of detail is what truly defines stunning ‘weeding nail’ art. Experiment with different types of stencils – some are designed for easier weeding than others. Don’t be discouraged if your first few attempts aren’t perfect; practice builds muscle memory and refines your technique.
Troubleshooting Common Weeding Nail Mistakes and Solutions
Even the most experienced nail artists encounter hiccups when mastering the ‘weeding nail’ technique. One of the most common frustrations is tearing the vinyl or sticker. This often happens when the material is pulled too aggressively or at the wrong angle. The solution? Slow down. Use a gentle, upward motion and ensure your tool is positioned to lift, not rip. Another issue is leaving behind tiny bits of excess material, making the design look messy. This calls for a closer look with good lighting and perhaps a finer-tipped tool to pick out those stubborn fragments. If your design isn’t adhering well after weeding, it could be due to insufficient pressure during the transfer or a dusty nail surface. Always ensure your nail is clean and dry, and press down firmly on the transfer tape. Stubborn adhesive can sometimes be tricky; a tiny bit of rubbing alcohol on a cotton swab can help clean up excess that’s clinging to your design. Remember, troubleshooting is part of the learning process for ‘weeding nail’ art.
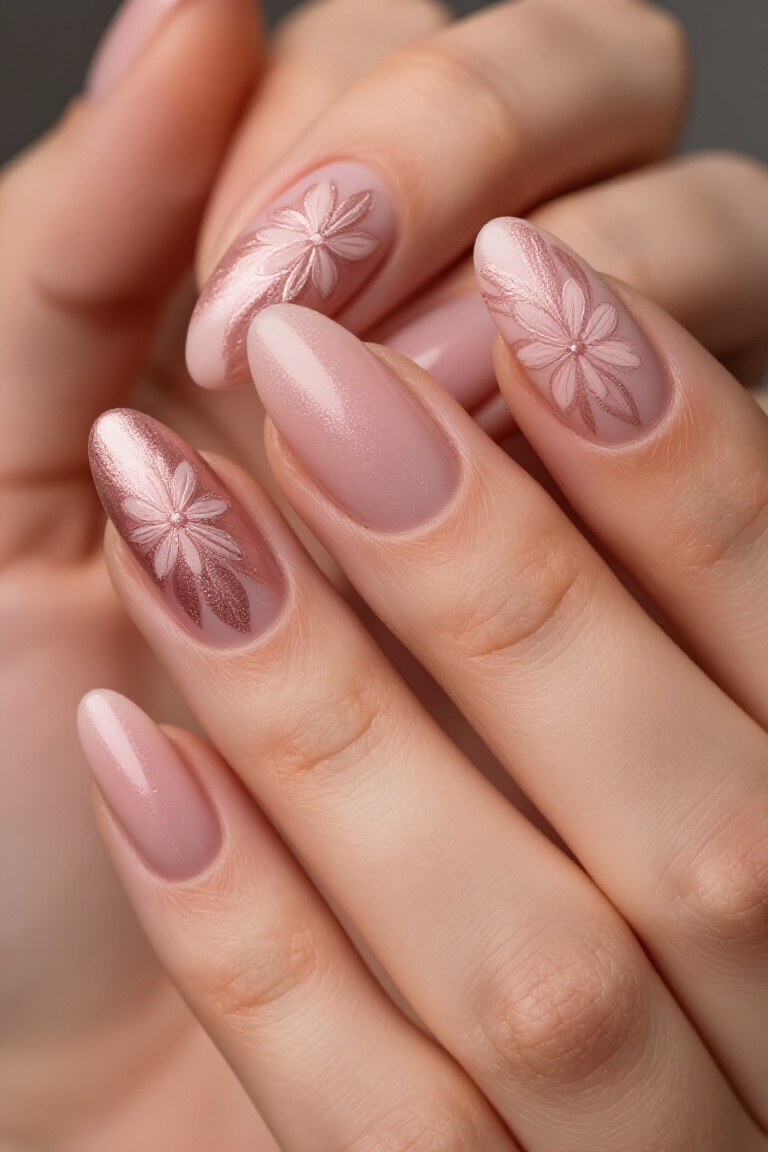
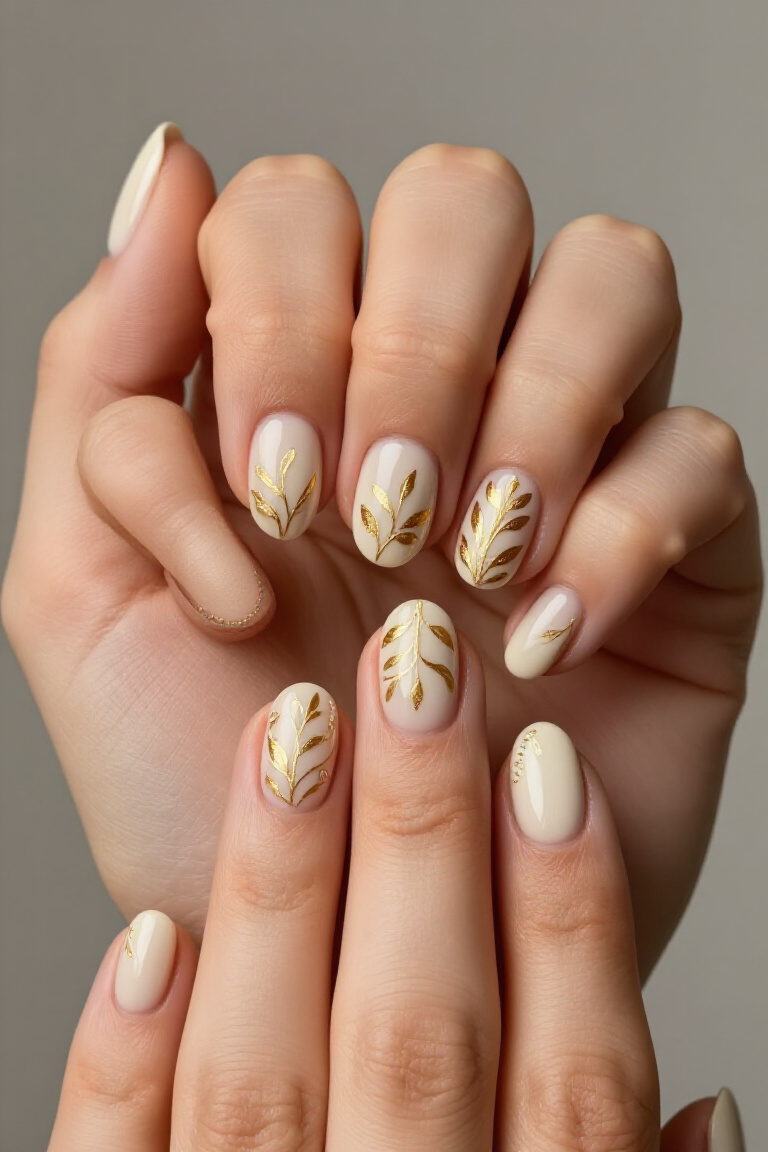
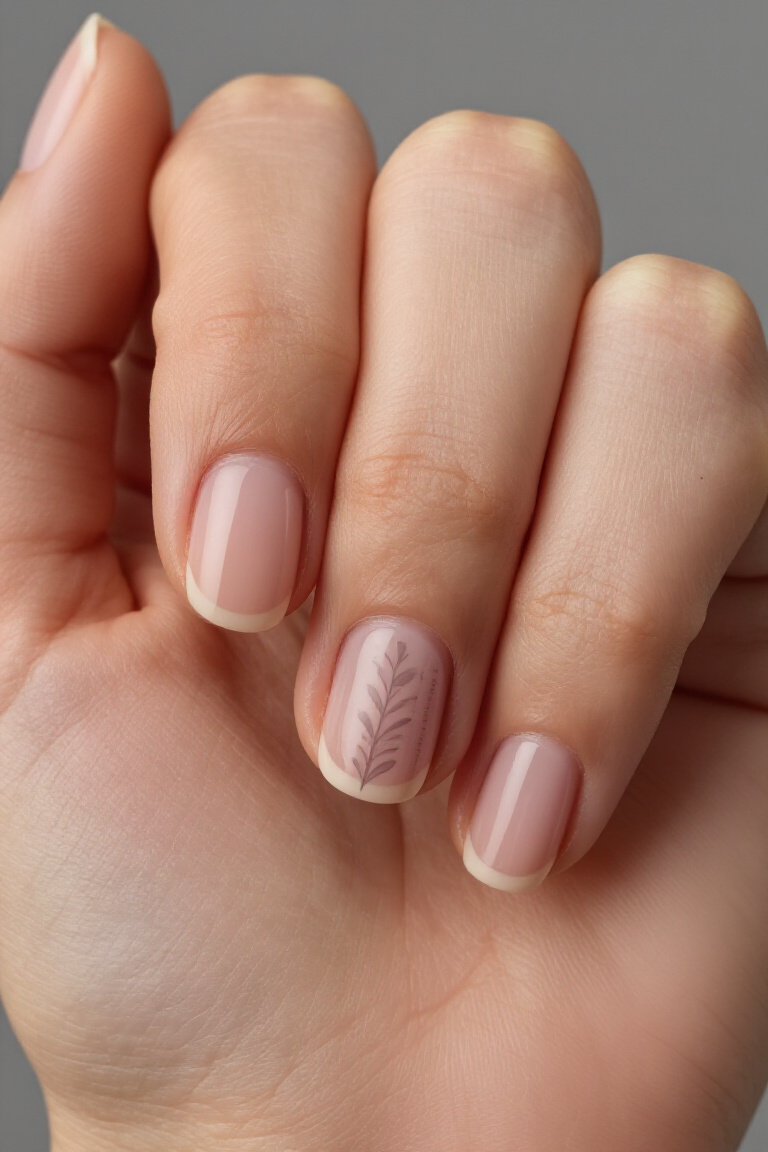
Creative Applications for Weeding Nail Decals and Stencils
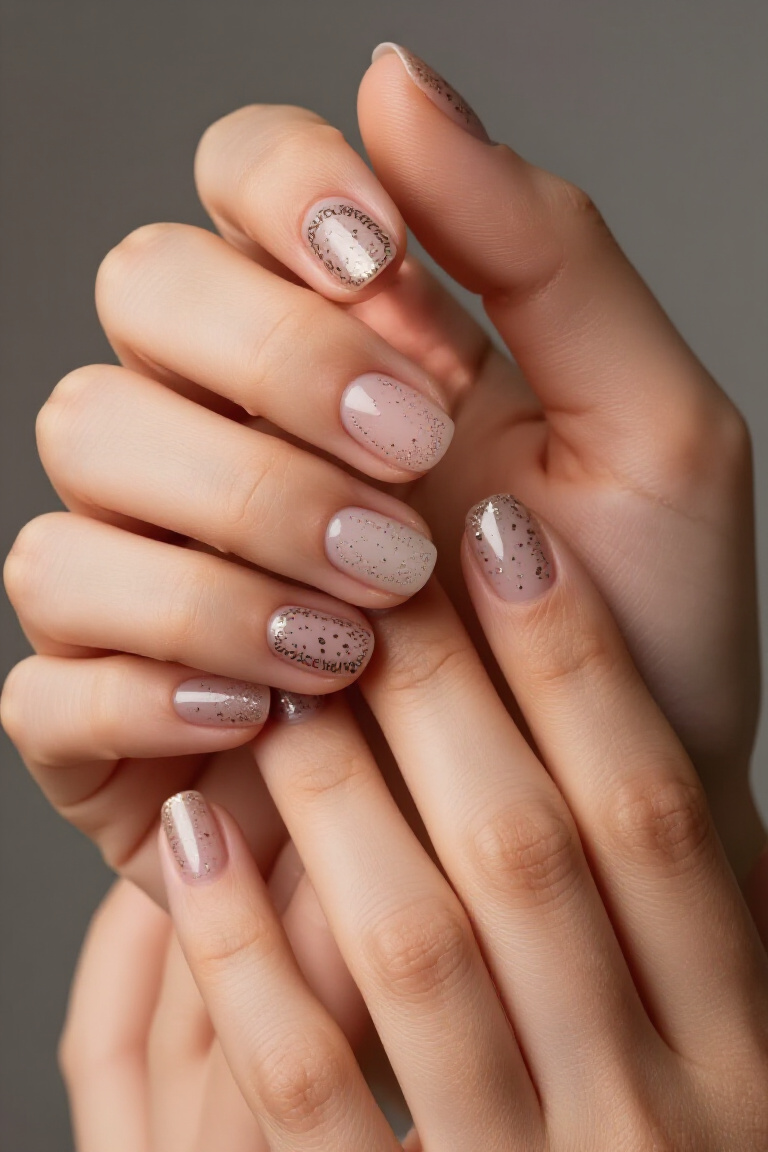
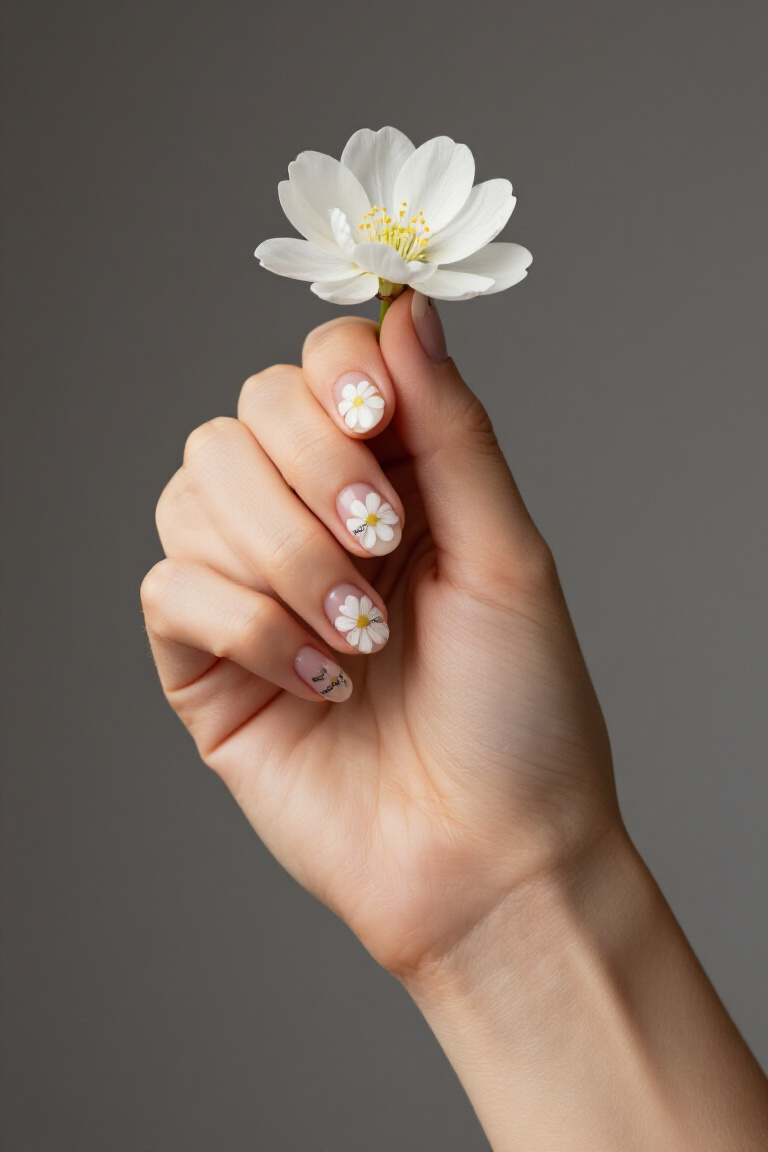
The versatility of the ‘weeding nail’ technique extends far beyond simple nail art. Once you’ve mastered weeding, you unlock a universe of creative possibilities. Think beyond basic nail polish applications. You can use your perfectly weeded designs as decals for phone cases, laptops, or even to embellish greeting cards. For nail art, the applications are endless: gradient backgrounds, intricate lace patterns, bold geometric statements, or delicate floral motifs. Consider layering weeded designs for added depth and complexity. You can also use the negative space created by weeding a stencil as a design element itself, creating a reverse silhouette effect. Experiment with different finishes like holographic or glitter vinyl to add a dazzling dimension to your ‘weeding nail’ creations. The power of a perfectly weeded design is its ability to transform any surface into a personalized work of art. Imagine creating custom decals for party favors or unique embellishments for craft projects.
Gel Polish and Weeding Nail Art: The Perfect Pairing
For a durable and high-gloss finish, pairing gel polish with your ‘weeding nail’ art is an absolute dream combination. Gel polish provides a smooth, opaque canvas that makes your precisely weeded designs pop. The process typically involves applying a base coat, curing, then applying your colored gel polish. Once the color is cured, you’ll apply your weeded decal or stencil. The inherent tackiness of a uncured gel topcoat can sometimes help with adhesion, but for most vinyl decals, using a specialized nail glue or a thin layer of gel adhesive is recommended for longevity. After the decal is in place, carefully apply a generous layer of gel topcoat, ensuring it covers the edges of the decal to seal it in. Always cure thoroughly under a UV/LED lamp to achieve that lasting, chip-resistant finish that gel is known for. This pairing ensures your intricate ‘weeding nail’ creations will stay put and look stunning for weeks. The smooth surface of cured gel polish is ideal for detailed application.
Advanced Weeding Nail Techniques for Professionals
For those who have mastered the basics of ‘weeding nail’ art and are looking to push their boundaries, advanced techniques can elevate your skill set dramatically. Consider the art of ‘reverse weeding,’ where you apply the entire sheet of vinyl or sticker to your nail and then carefully weed away the design, leaving the negative space behind. This is fantastic for creating silhouette effects or subtle textured patterns. Another advanced application involves using multiple colors or finishes within a single design; this requires meticulous planning and precise layering after each element is weeded. Micro-weeding, focusing on extremely fine details like individual glitter flakes or intricate linework, demands exceptional patience and the finest precision tools. Some artists even experiment with ’embossed’ effects by layering multiple thin, weeded vinyl pieces to create subtle dimension. These advanced ‘weeding nail’ skills open up a world of complex, custom nail art that is truly unique and eye-catching. The goal is always exquisite detail.
Caring for Your Weeding Nail Art Manicures
To ensure your beautiful ‘weeding nail’ creations last and maintain their pristine appearance, proper care is essential. Avoid aggressive scrubbing or prolonged exposure to harsh chemicals, as these can lift the edges of your decals or damage the underlying polish. When cleaning your hands, opt for gentle soaps and pat your nails dry rather than rubbing. For gel manicures, remember that while they are durable, they are not indestructible. Minimize contact with abrasive surfaces and consider wearing gloves when performing household chores or gardening. Reapplying cuticle oil regularly is also a fantastic habit. Hydrated cuticles contribute to overall nail health and can prevent lifting around the edges of your ‘weeding nail’ art. If you notice any minor lifting, a tiny dab of nail glue or topcoat can sometimes salvage the design. Regular touch-ups can prolong the life of your intricate nail art.
DIY vs. Professional: When to Choose What for Weeding Nail Art
Deciding between DIY and professional ‘weeding nail’ art depends on your skill level, time availability, and desired complexity. For beginners, starting with DIY is a fantastic way to learn the ropes at your own pace and budget. Investing in a few key tools and practicing with simpler designs can yield satisfying results. However, for highly intricate, salon-quality designs or when you need a flawless finish for a special occasion, professional help is invaluable. Nail technicians often have access to specialized tools, high-quality materials, and years of practice, allowing them to execute complex ‘weeding nail’ art with incredible precision. If you’re aiming for elaborate patterns, multi-colored designs, or a flawless finish that you’re unsure of achieving on your own, booking an appointment with a skilled nail artist is a wise investment. They can bring your vision to life with expertise that’s hard to replicate at home.
The Future of Weeding Nail Art: Trends and Innovations
The world of ‘weeding nail’ art is constantly evolving, driven by innovation and emerging trends. We’re seeing an increased focus on sustainable and eco-friendly materials, with brands developing biodegradable vinyls and water-soluble sticker papers. The integration of technology is also on the horizon, with potential for digital design tools that can precisely guide the weeding process or even automated weeding machines for mass production. Expect to see more holographic, iridescent, and textured finishes becoming mainstream as manufacturers push the boundaries of material science. Furthermore, the rise of mixed-media nail art, incorporating 3D elements and textures alongside finely weeded designs, is set to explode. As artists continue to explore the creative potential of ‘weeding nail’ techniques, expect even more dazzling, intricate, and personalized nail art experiences in the coming years. The artistic possibilities are truly limitless.
Frequently Asked Questions
What is the easiest way to learn ‘weeding nail’ art?
The easiest way to learn ‘weeding nail’ art is to start with simple, bold shapes and work your way up to more intricate designs. Invest in a good quality weeding tool and tweezers. Practice on scrap vinyl first to get a feel for the material. Ensure you have excellent lighting and magnification if needed. Patience is key; don’t rush the process. Breaking down complex designs into smaller, manageable sections will also make the learning curve much smoother and more enjoyable.
How do I prevent my weeded nail designs from peeling?
To prevent your weeded nail designs from peeling, ensure your nail surface is meticulously clean and free of oils before application. Use a strong adhesive specifically designed for nail art or a thin layer of gel adhesive. After applying the design, seal the edges thoroughly with a good quality gel topcoat, making sure it covers the entire decal. Avoid using your nails as tools, and wear gloves for chores to protect your manicure.
Can I reuse weeded nail stencils?
Generally, single-use vinyl stencils are designed to be disposable after one application for optimal results. Reusable stencils are typically made from thicker, more durable materials like plastic or silicone and are designed for stamping or painting through. If you’re working with a sticker or decal that you’ve weeded, it’s intended to be applied once. Attempting to reuse a weeded vinyl decal can lead to poor adhesion and a less-than-perfect finish for your ‘weeding nail’ art.
What’s the difference between weeding and using pre-made nail stickers?
Weeding involves meticulously removing excess material from a stencil or a sheet of vinyl/sticker to reveal your desired design. This gives you complete control over the final look and allows for customization. Pre-made nail stickers are already cut out and ready to apply. While convenient, they offer less customization and often lack the crisp, precise edge that can be achieved with careful weeding. ‘Weeding nail’ art allows for a more bespoke and professional appearance.
How can I achieve super sharp lines with my weeding nail art?
Achieving super sharp lines with your ‘weeding nail’ art relies heavily on the precision of your tools and your technique. Use an ultra-fine tipped weeding tool and a sharp, clean blade for any necessary trimming. When removing excess material, lift it away from the design at a slight angle, ensuring you don’t pull or stretch the vinyl. For transfer, ensure the transfer tape is applied with firm, even pressure, and then peel it away slowly and steadily to avoid any lifting or jagged edges on your delicate lines.
Final Thoughts
You’ve now unlocked the secrets to mastering ‘weeding nail’ art! From understanding essential tools to troubleshooting tricky mistakes and exploring advanced techniques, this comprehensive guide empowers you to create stunning, professional-quality nail designs right at your fingertips. Remember, practice is paramount, and with each intricate pattern you weed, your precision and confidence will grow. Embrace the creative possibilities, experiment with different colors and finishes, and don’t be afraid to push your artistic boundaries. Elevate your manicures from ordinary to extraordinary and let your perfectly weeded nail art become your signature style. So, grab your tools, channel your inner artist, and start weeding your way to breathtaking nail transformations today!