Ombre Nail Designs: The Ultimate Guide to Gradient Glamour
The world of nail art is constantly evolving, yet some trends possess an enduring charm that keeps them at the forefront of style. Among these, the ombre nail stands out as a true masterpiece of blending and beauty. Far more than just a passing fad, ombre nails offer a sophisticated, gradient transition of color that can range from subtle and understated to bold and dramatic. This captivating nail technique has graced countless fingertips, proving its versatility across seasons, occasions, and personal styles. Whether you’re drawn to the soft fade of pastels or the vibrant shift of bold hues, understanding the artistry behind the ombre nail can unlock a new level of personal expression. Join us as we explore everything you need to know about this iconic nail art trend, from its origins to achieving that perfect gradient.
Understanding the Ombre Nail Trend: A Gradient Evolution
The ombre nail phenomenon, characterized by a seamless fade from one color to another, has captivated nail enthusiasts worldwide. Originating from the French word “ombré,” meaning shaded, this technique translates beautifully to nails, creating a stunning visual effect that mimics a gradient. Unlike a simple two-tone nail, the magic of ombre lies in the smooth transition zone, where the colors subtly blend, making it appear as if one color is melting into the next. This trend isn’t new; variations have existed in fashion and hair for decades, but its adaptation to nail art truly cemented its place as a classic. Its enduring appeal stems from its incredible versatility. Ombre nails can be vertical, horizontal, or even diagonal, and they can incorporate two, three, or even more colors. This adaptability allows for endless creative interpretations, making it suitable for every preference, from minimalist chic to maximalist glam. The visual depth and sophistication an ombre design adds to your manicure are unparalleled, making it a go-to choice for those seeking an elevated nail look. Whether you’re attending a formal event or simply want to elevate your everyday style, a perfectly executed ombre nail provides that touch of artistic elegance.
Exploring Popular Ombre Nail Styles and Color Combinations
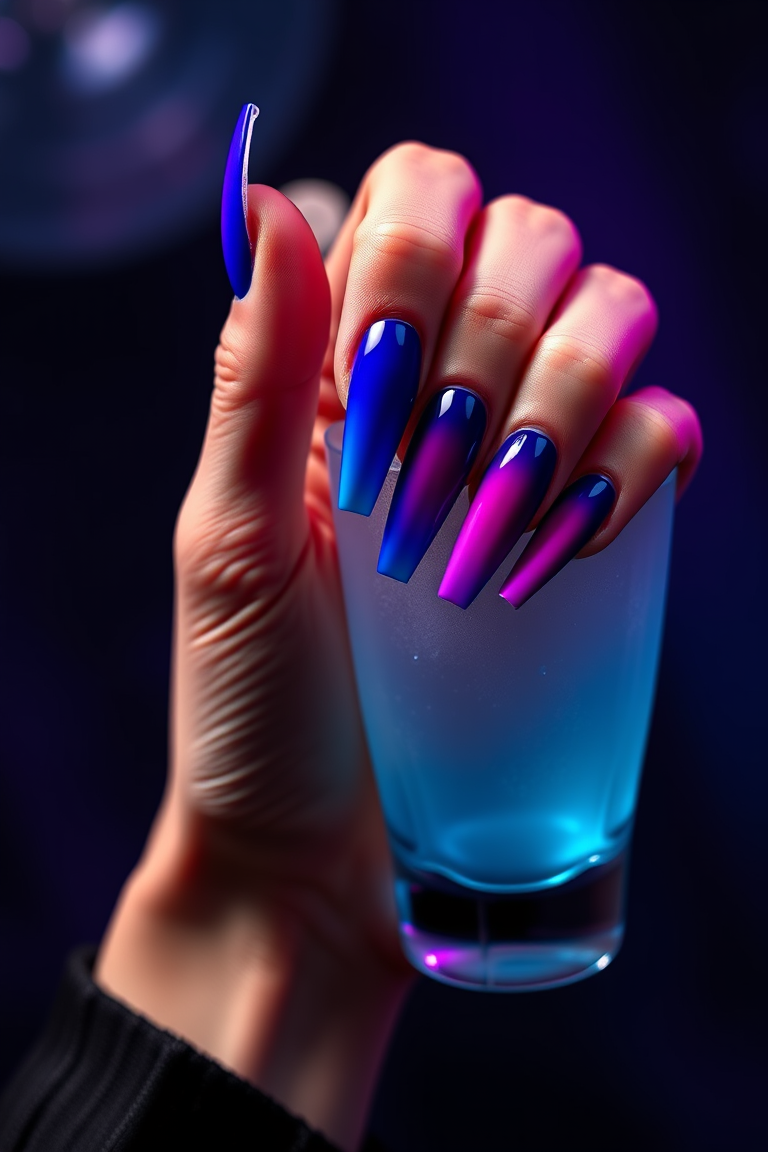
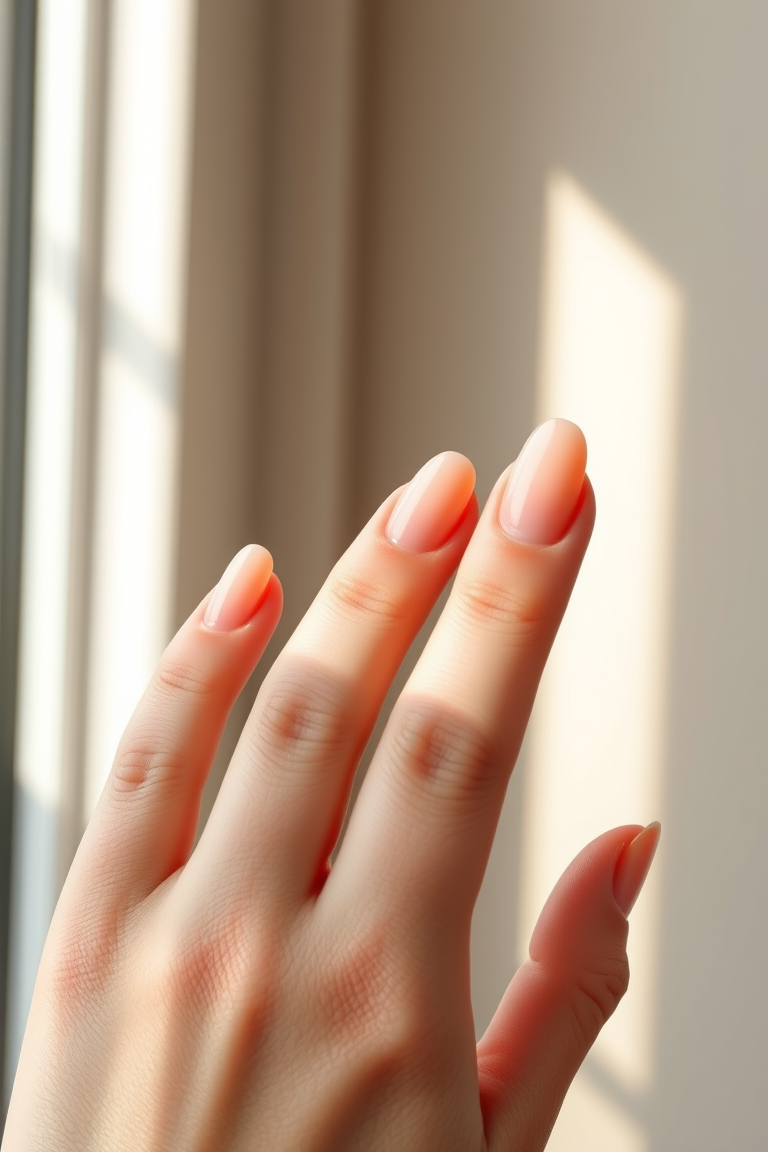
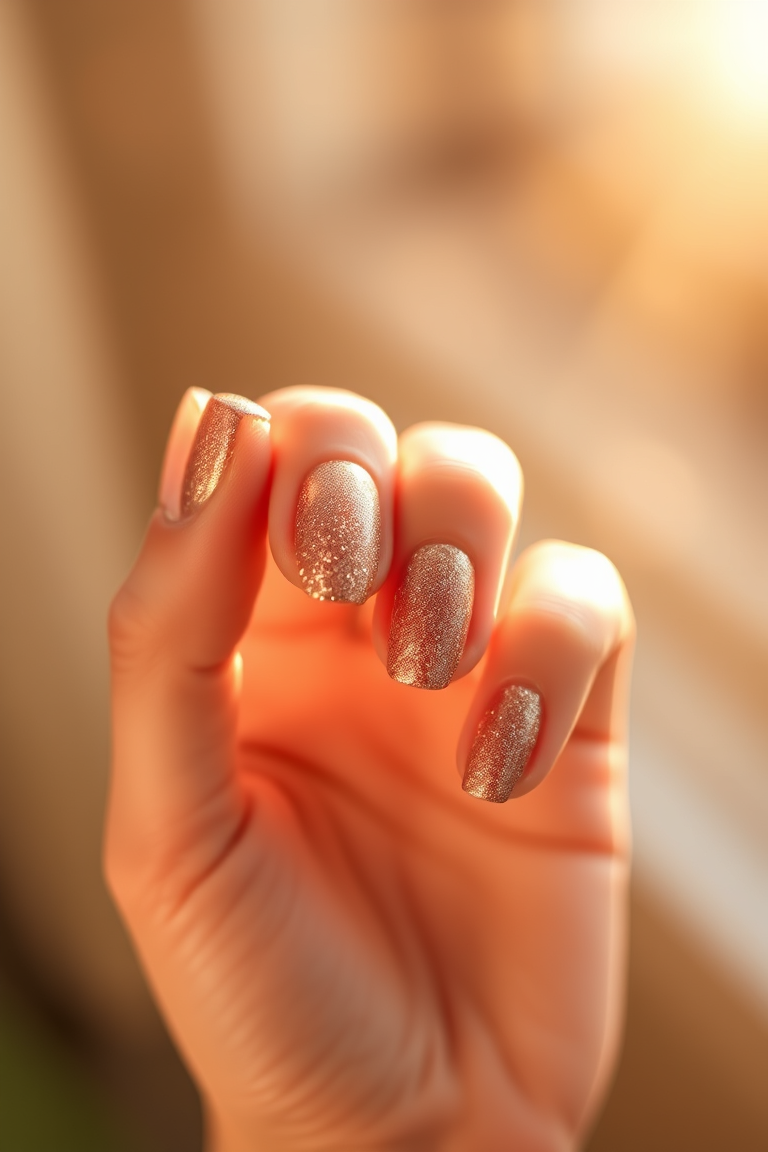
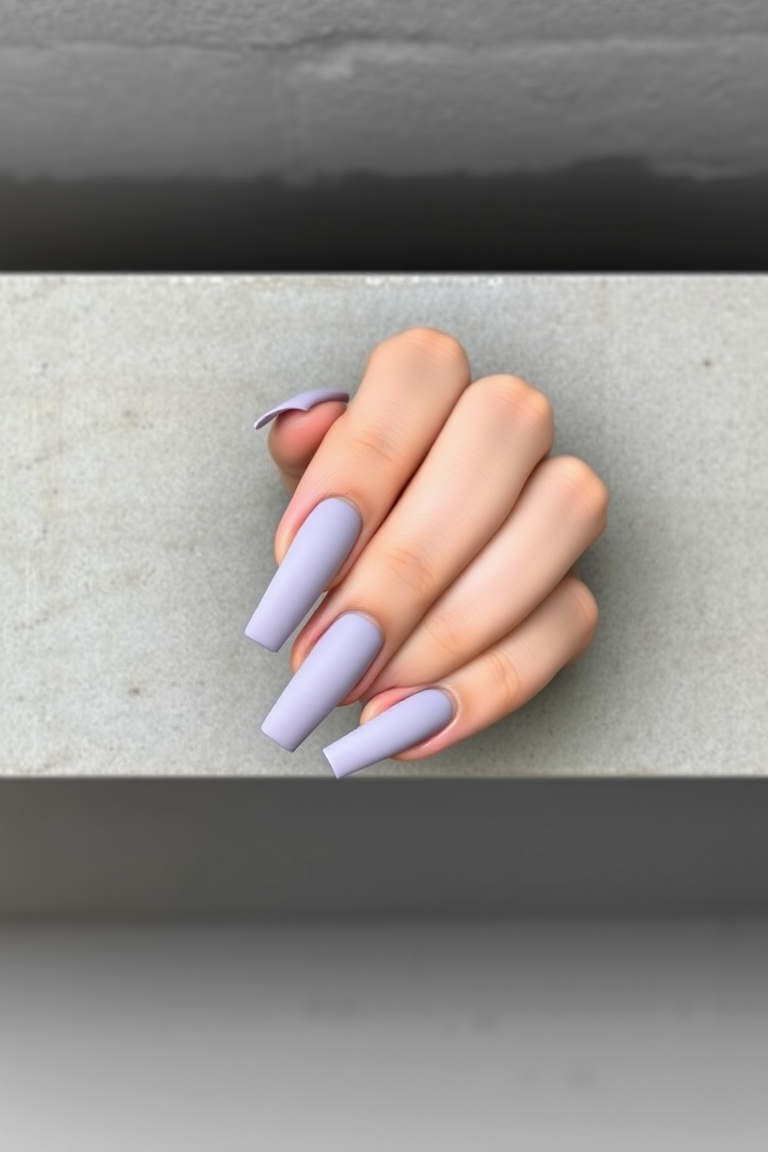
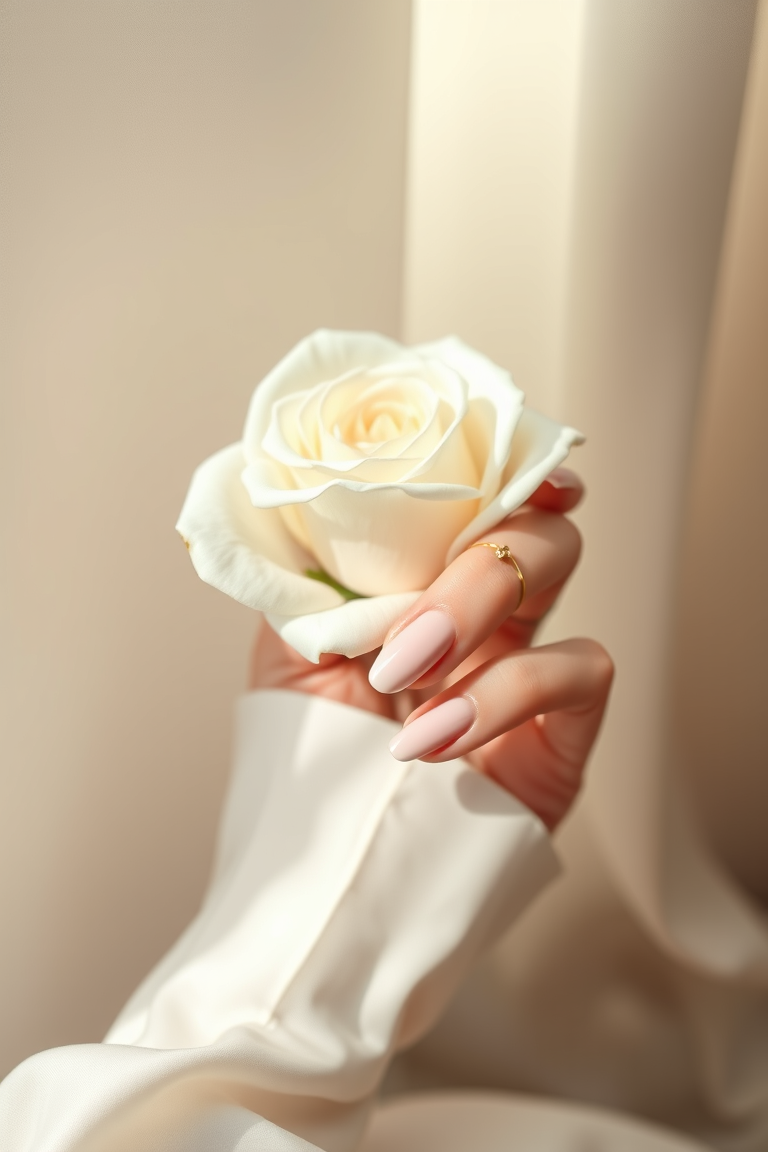
The beauty of the ombre nail lies in its boundless creative potential, allowing for an array of styles and color palettes to suit any mood or occasion. One of the most classic and sought-after styles is the “French Ombre,” or “Baby Boomer” nails, which features a soft, subtle fade from a milky white tip to a natural pink or nude base. This elegant look offers a modern twist on the traditional French manicure, perfect for weddings, professional settings, or simply a refined everyday aesthetic. Beyond this timeless choice, consider vibrant two-tone fades like sunset oranges blending into fuchsia, or ocean blues melting into serene turquoises for a playful, statement look. Glitter ombre nails add a touch of sparkle, where glitter gradually increases in density from the cuticle or tip, creating a dazzling effect. Reverse ombre, where the darker color is at the tip and fades into a lighter base (or vice-versa compared to what’s common), offers another interesting variation. Don’t shy away from experimenting with textured ombre using matte and glossy finishes, or even incorporating chrome and holographic powders for a futuristic flair. Popular color combinations extend from ethereal pastels like lavender to mint, ideal for spring, to sophisticated jewel tones such as emerald to sapphire for an evening out, or even dark shades like black to burgundy for a dramatic, edgy vibe. The key is to choose colors that complement each other or create a striking contrast, always aiming for a smooth, artistic transition.
Mastering DIY Ombre Nails: A Step-by-Step Guide for Home Application
Achieving stunning ombre nails at home might seem daunting, but with the right tools and a little practice, it’s a surprisingly accessible technique. Before you begin, gather your essentials: two or three complementary nail polish colors, a makeup sponge (wedge sponges work best), a base coat, a top coat, and some cleanup tools like a small brush and acetone or nail polish remover. Start by applying a clear base coat to protect your natural nails and create a smooth canvas. Once dry, apply the lightest of your chosen colors as a full base coat on all nails and let it dry completely. Next, take your makeup sponge and paint stripes of your chosen polish colors side-by-side onto the sponge, ensuring they slightly overlap. For a two-color ombre, you’d paint one color and then the other next to it. For three colors, paint them in sequence. Gently dab the sponge onto your nail, rocking it slightly back and forth to blend the colors and create the gradient effect. Repeat this dabbing motion on each nail, reloading the sponge with polish as needed. Don’t worry about getting polish on your skin; that’s where the cleanup tools come in. Once you’re satisfied with the blend, allow the polish to dry for a few minutes before sealing your beautiful ombre nail art with a generous layer of top coat for shine and durability. Practice makes perfect, so don’t be discouraged if your first attempt isn’t flawless!
Maintaining Your Gorgeous Ombre Nail Art for Lasting Vibrancy
Once you’ve achieved your perfect ombre nail design, whether at home or in a salon, the next step is ensuring its longevity and vibrancy. Proper care can significantly extend the life of your manicure, keeping those beautiful gradients looking fresh and chip-free for weeks. One of the most crucial steps is to always apply a high-quality top coat, not just immediately after application, but also reapplying a thin layer every two to three days. This acts as a protective shield against chips, adds extra shine, and keeps your colors from fading. Hydration is key for both your nails and cuticles; regularly apply cuticle oil or a rich hand cream. This prevents dryness, which can lead to brittle nails and peeling polish. When performing household chores or activities that involve water or harsh chemicals, always wear gloves. Water exposure can cause polish to lift, and cleaning agents are notorious for stripping away shine and color. Be mindful of how you use your hands – avoid using your nails as tools to open cans or scratch surfaces. If a chip does occur, address it promptly to prevent it from spreading. A quick touch-up with a matching polish or a clear top coat can often save the day. For gel or acrylic ombre nails, adhere to your salon’s recommendations for fills and removals to prevent damage to your natural nails, ensuring your next ombre creation is just as stunning.
Professional Ombre Nail Techniques: Salon Services and Innovations
While DIY ombre nails are a fun endeavor, visiting a professional nail technician opens up a world of advanced techniques and flawless finishes. Salons offer various methods to achieve the perfect gradient, often with greater precision and durability than home applications. One popular professional approach involves using gel polish, which allows for more blending time before curing under a UV/LED lamp, resulting in a super smooth transition and long-lasting wear. Acrylic ombre nails are another salon staple, where two or more colored acrylic powders are expertly blended on the nail form or tip. This method creates a strong, durable extension with a seamless gradient that can last for weeks. Dip powder ombre, while similar in appearance to acrylic, involves dipping the nail into colored powders and then activating them, creating a strong and lightweight finish with a beautiful fade. Professional nail artists also have access to specialized airbrushing techniques or advanced brush blending methods that produce incredibly subtle and intricate ombre designs that are difficult to replicate at home. When choosing a salon, look for technicians who specialize in nail art and can showcase a portfolio of their ombre work. They can advise on the best technique for your natural nails, lifestyle, and desired aesthetic, ensuring you leave with a stunning, salon-quality ombre nail manicure that perfectly captures your vision.
Frequently Asked Questions
What is the easiest way to create an ombre nail design for beginners?
For beginners, the easiest method involves using a makeup sponge. Apply two to three complementary polish colors directly onto the sponge in thin stripes, then gently dab the sponge onto your nail. This technique allows for a softer blend and is much simpler than trying to brush-blend polishes directly on the nail, making it perfect for your first attempts at DIY ombre nails.
How long do ombre nail manicures typically last?
The longevity of your ombre nail manicure depends on the type of application. Traditional polish ombre designs typically last 5-7 days. Gel polish ombre can last 2-3 weeks, while acrylic or dip powder ombre nails can last 3-4 weeks before needing a fill or removal, provided proper care and maintenance are followed.
Can you do an ombre nail design on short nails?
Absolutely! Ombre nail designs look fantastic on short nails. In fact, a vertical ombre (where the fade runs from the cuticle to the tip) can even make short nails appear slightly longer. The key is to choose colors that complement each other well and ensure the gradient is smooth, regardless of nail length.
Final Thoughts
The ombre nail trend is a testament to the timeless appeal of gradient artistry, offering a sophisticated and customizable way to express your personal style. From the understated elegance of a “Baby Boomer” fade to the dramatic flair of a multi-color blend, ombre nails provide an endless canvas for creativity. We’ve journeyed through understanding its enduring charm, explored popular styles and color combinations, demystified the DIY process, uncovered essential maintenance tips, and highlighted the precision of professional techniques. Whether you choose to experiment with this captivating trend in the comfort of your home or indulge in a salon-perfect finish, the result is always a stunning visual feast. So, embrace the beauty of the blend, find your perfect fade, and let your fingertips become a vibrant display of this iconic nail art. Dare to try a new ombre nail design today and elevate your manicure game!